A garden hose is undoubtedly a must-have item in your garden. Besides, how else can you water your lawn and plants with ease? After all, using a garden hose is the most efficient and effective way to keep your garden healthy and thriving.
But then again, you can’t just leave your garden hose lying around your garden. After all, it looks like an eyesore if you simply leave it sprawled on the ground. Furthermore, leaving your hose on the ground also puts it at risk of getting stepped at or tripped on. This will reduce the longevity of your hose and lead to its eventual breaking.
Fortunately, this is where garden hose hangers can step in! Hose hangers are just one of the handy garden storage solutions that’ll keep your garden looking much more organized and free from the ground. That said, if you don’t know how to install one, here is a helpful guide that you can refer to below.
Why Use Garden Hose Hangers?
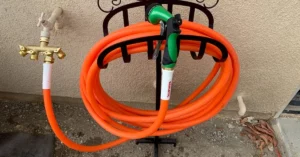
Garden hose hangers are great garden items for storing garden hoses. They come with a rack where you can manually wrap your hose for storing them. Moreover, they also come in different styles, sizes, and colors, ensuring you can find the ultimate design if your garden has a specific theme that you want to stick to.
That said, hose hangers come in the following designs below:
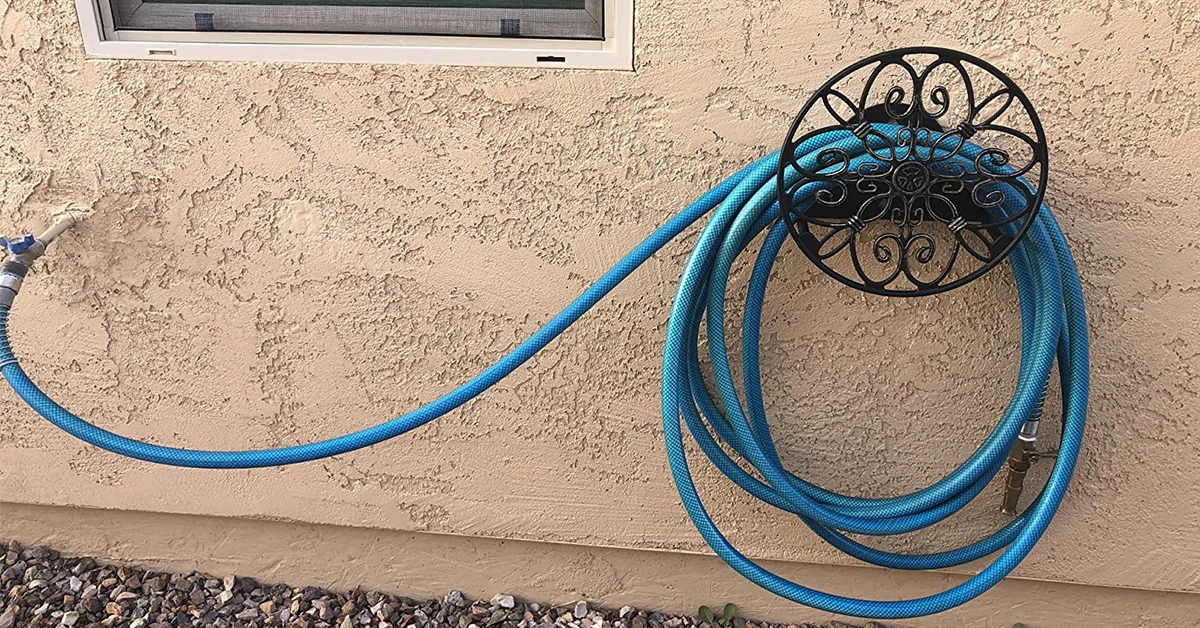
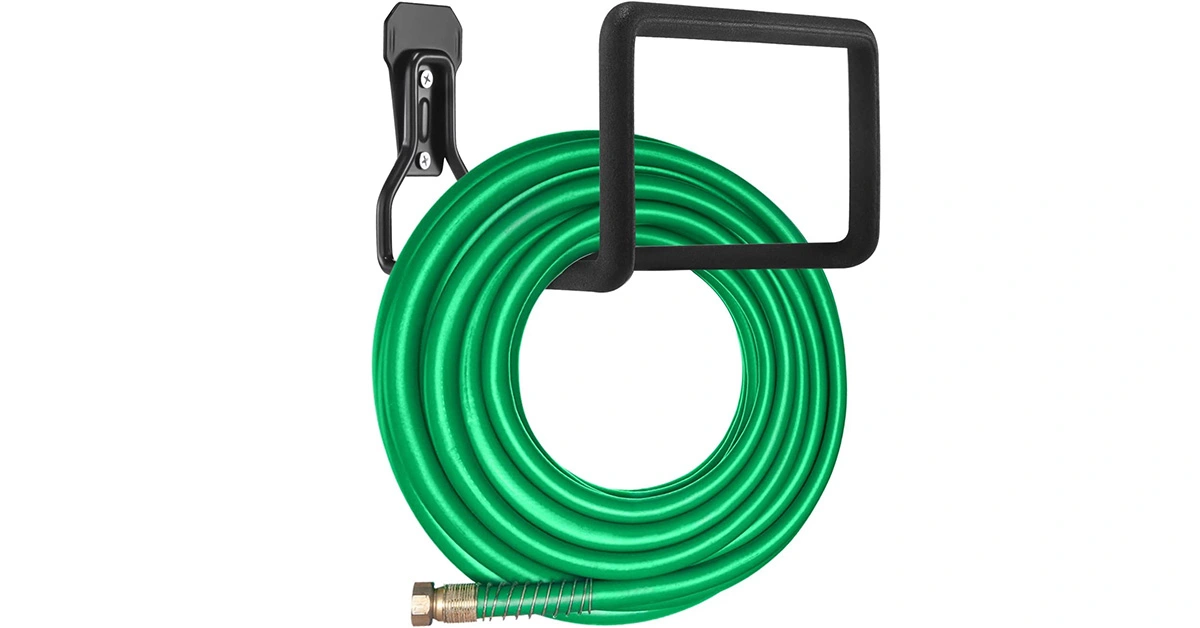
- Wall-mounted hose hanger: As its name suggests, this hose hanger is installed on a wall. The hanger is attached to its designated mounting plate that can be secured to a wall.
- Freestanding hose hanger: This type of hose hanger comes with its own pole that holds the hose hanger. These freestanding hose hangers can be installed on the ground with screws. Other designs have spikes that help keep the stand firmly secured on the ground.
How Do I Attach a Hose Hanger to a Brick Wall? (Step-By-Step Guide)
Wall-mounted hangers are widely used due to their space-saving design. Besides, unlike a freestanding design, a wall-mounted garden is fastened to a wall and not positioned on the ground. Thanks to that, they look less awkward and are great for smaller gardens.
Now, if you finally got yourself a hose hanger, what’s left to do is to install it on your brick wall. Having said that, here is a step-by-step guide you can follow to attach your hose hanger to your brick wall:
Items you’ll need:
- Your chosen wall-mounted hose hanger
- Screws (you may have to purchase separate screws if your hanger doesn’t come with its own ones)
- Hammer Drill (a hammer drill ensures you can create bigger cuts quicker on brick walls)
- Plastic plugs (make sure that your plug fits the screws you’ll be using)
- Hammer
- Cutter
Step 1: First, pick your preferred height and spot where you’ll attach your hose hanger. Mark those spots with chalk or pencil and start drilling holes using your hammer drill. You may use a level tool to ensure that the holes you’ll drill are precise.
Ensure that the holes are at least an inch or a half shorter than the length of your screws. Meanwhile, the drill bit should be a size smaller than the diameter of your screws. Most hangers only require two slots for their screws, but some might require more.
Step 2: Once you’re done drilling holes on your brick wall, insert the plastic plugs on them. You may use your hammer to insert them inside the holes. Keep hammering the plugs until they hit the end of the tunnel you drilled.
Step 3: Next, grab your cutter and cut off the excess portion sticking out of the holes you drilled.
Step 4: Get your hammer drill and change the drill bit into a screwdriver type that matches your corresponding screws. Start drilling the screws on the holes containing the plastic plugs. But don’t drill them all the way and leave some space to hang your hose hanger.
Step 5: Afterward, get your hose hanger and slip its slots on the loosely drilled screws. Once you’ve placed the hanger’s slots to their corresponding screws, you can drill the screws tightly in place. You can simply use a manual screwdriver for this.
How High Should a Hose Hanger Be?
Everyone knows that you should place your garden hose hanger as close to your water spigot as much as possible. But nobody knows how high is good enough for these hose hangers. So, how high should a hose hanger be, anyway?
Generally, you should put hose hangers at waist height. This is the most recommended height, allowing anyone to easily reach their garden hose. But if you’re taller than the average person, you’re free to place it at a height you’re comfortable with. Overall, it just depends on your needs and preferences.
Amazon recommend
High Pressure Water Hose Guide
Contents Can You Use a Normal Hose for a Pressure Washer? Does Hose Diameter Affect Pressure? How do I make my garden hose high pressure?
What Is High Pressure Hose Used For?
Contents What is high pressure hose used for? How much PSI do I need to clean my driveway? What PSI is best for washing cars?

Rechargeable Hot Water Bottles Guide
Contents Are rechargeable hot water-bottles safe? How often should you change your hot water-bottle? How long does a rechargeable hot-water bottle last? How do Electric

Will A Heating Pad Ruin A Memory Foam Mattress?
Contents What is a Heat Mattress? Will a Heating Pad Ruin a Memory Foam Mattress? Buy Heating Pad on Amazon Conclusion One of the things

How Do You Clean A Suckle Portable Bottle Warmer?
Contents How does a suckle bottle warmer work? Do I need a bottle warmer if breastfeeding? How do you clean a suckle portable bottle warmer?
3 Tips for Take Care Lawn You Need to Know
Contents Is It Better To Water Lawn in the Morning or at Night? How Many Days a Week Should You Water Your Lawn? Should You